Saturday, May 11, 2013

old refrigerator (part 2)

After sanding and repainting, I though I'd just wipe down the gasket. Unfortunately, the dirt was more embedded than I realized, so the gasket had to be removed. This is the point where one thing led to another...

First the interior panel had to come off—


—which revealed the insulation. It looked fine, except for that lower left corner:


Which led me to look more closely at the bottom bracket:

gasket pulled away from bottom bracket, revealing rust and corrosion
bottom bracket removed
What do you do in this case? Do you take out the insulation and repack it? I hadn't figured on getting this deep into an old appliance. While trying to decide what to do, the insulation began to flake off by itself. Finally, I gave up and just removed the cross brackets, letting it all fall out.


Surprise: more rust.


Which meant more (rust-inhibiting) spray paint:


And new insulation. One consolation: the new giant scissors were perfect for cutting the batts.


And the modern paper-backed batts went in easily:


(Note for next time: don't leave the insulation unattended.)


The sanded and repainted bottom bracket:


The gasket was soaked and scrubbed:


And then the whole thing went back together:


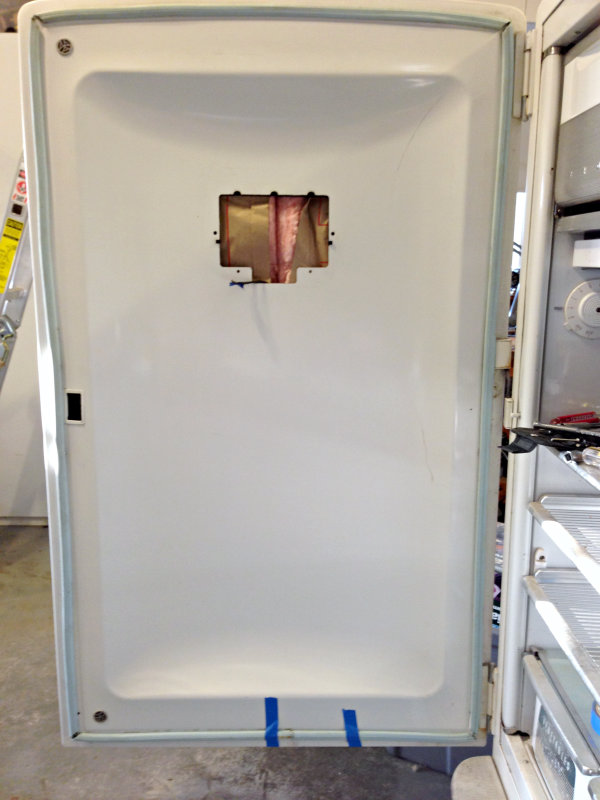
In this photo, the butter dish still needs to be reinserted and wired, and blue tape is holding the botom gasket on while the adhesive sets, but it is mostly together. I hope. It still has to be moved, plugged in, and tested. Part 3 of this project may be awhile in coming.


Monday, April 29, 2013

projects simple and not-so-simple

Sometimes projects skate along just as you imagined them, and sometimes—most times, I've come to believe—the project seems to grow in both breadth and depth the farther you get into it.

The Straightforward Project: Old Scissors

Last weekend DH and I decided on a whim to visit a flea market. We never do this, so it was extra fun browsing tables full of old dishes, board games, car parts and aloha shirts. On our way out I spotted this pair of giant scissors and bought them on a whim. They were old and rusty, but they were the largest pair of scissors I had ever seen. I wondered if they might be brought back to working condition. For $2, it seemed worth a shot.


A little steel wool, and some marks began to emerge:
R. Heinisch, Newark, NJ, USA
And on the reverse...
before sanding
"IF IT"S Detmer, IT'S THE BEST"
I think that's what it reads. Not so sure about the last letter of Detme-.

A web search on R. Heinisch mentions production between 1835-1914, when the company was bought by Wiss; and a glance at a 1915 Wiss catalog confirms that the Heinisch name was not retained. These scissors are around 100 years old.

After I had done all I could with the steel wool and chrome polish, I took them to a sewing machine repairman to be sharpened. His charge was only $9, but the scissors turned out to be for paper, not cloth. The difference, apparently, is in the angle of the bevel: dressmaking shears are angled at 30-45 degrees, while paper scissors are angled at 15 degrees. This is why one never cuts fabric with paper scissors and vice versa. Who knew?

In any case, it was a straightforward little project, just a bit of elbow grease and a visit to the repairman. Now what will I do with this humongous pair of office snips (shown here with our regular scissors for comparison)?


The Expanding Project: Old Refrigerator (part 1)

Another Freecycle find. I saw the listing once and ignored it; but when it was relisted, I couldn't resist saving it from the dump. The woman who offered it assured us that surface rust aside, it worked just fine. 
Indeed, the inside was quite clean:

I assumed I could sand down the rust and give it a new coat of paint; and my first efforts seemed to bear this out (color differences are due to photographing before and after photos at different times of day in a poorly lit garage):
the front

the latch

the side
Several coats of paint later, the fridge seemed good to go:
DH replaced the frayed power cord and I figured a good wipedown of the inside would do the trick.

Then I got to the gasket.

To be continued...



Sunday, January 27, 2013

violin case to ukulele case


Once the Grizzly was made, it needed a case. My first plan was to try and revise the Gaspar gig bag, but then I lucked into this old violin case on freecycle. It turned out to be a perfect fit for a soprano ukulele.

As with the Grizzly, my documentation is spotty; but it's a fairly straightforward conversion. The old lining comes out and a fitted, padded lining is glued in its place. I used wood glue to attach fabric to plywood, but Super 77 made a smoother, stronger adhesion whenever foam was involved.

Some notes if you make your own version:

  • try to keep the nap of the fabric running the same direction
  • dry fit all the parts before you commit to glue
  • don't be afraid to revise along the way (pictures below show how much revision I ended up making to the neck support before I was happy with it)
  • feel free to substitute your preferred materials or what you have on hand.

materials used
wooden violin case
1/2" velcro strapping
piled fabric (mine was a scrap of Minky), about a yard
1/2" high density foam, about a yard
particle board or thin plywood scraps
wood glue
Super 77 spray adhesive
leather scrap from an old belt
short wood screws
corrugated plastic scraps
decorative paper
Mod Podge

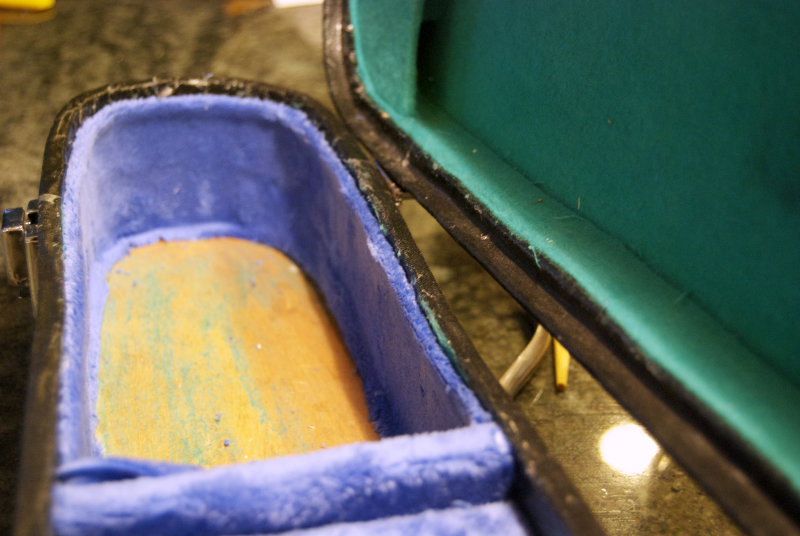
lining removed from bottom half

cross-section: fiberboard, foam, fabric
wood glue brushed inside case
new lining added around edge
the old lining pulled out easily
small compartment under neck; lid is pressure fit
a broken belt used for the compartment strap
belt cut down and attached with short wood screws
the fully padded body area

Above the headstock, a removable container made from coroplast scraps and covered in origami paper 
Another compartment in the lid can store spare strings and papers

If you do make your own case, please consider linking to it in the comments below. I'd love to see other designs and ideas.

In other ukulele news, my ukulele group has grown over the last year, so I started a new blog for us here. If you enjoy uke talk, I hope you'll visit.


Related Posts Plugin for WordPress, Blogger...